Re-power a MDC/Roundhouse Box Cab Diesel and add DCC
Jim Exler, Nampa, ID February 27, 2018
The original chassis for the box cab never ran very well and was noisy. By replacing the chassis with a Bachmann 44 ton diesel chassis and replacing the decoder with a sound unit, you have a great running and sounding loco.
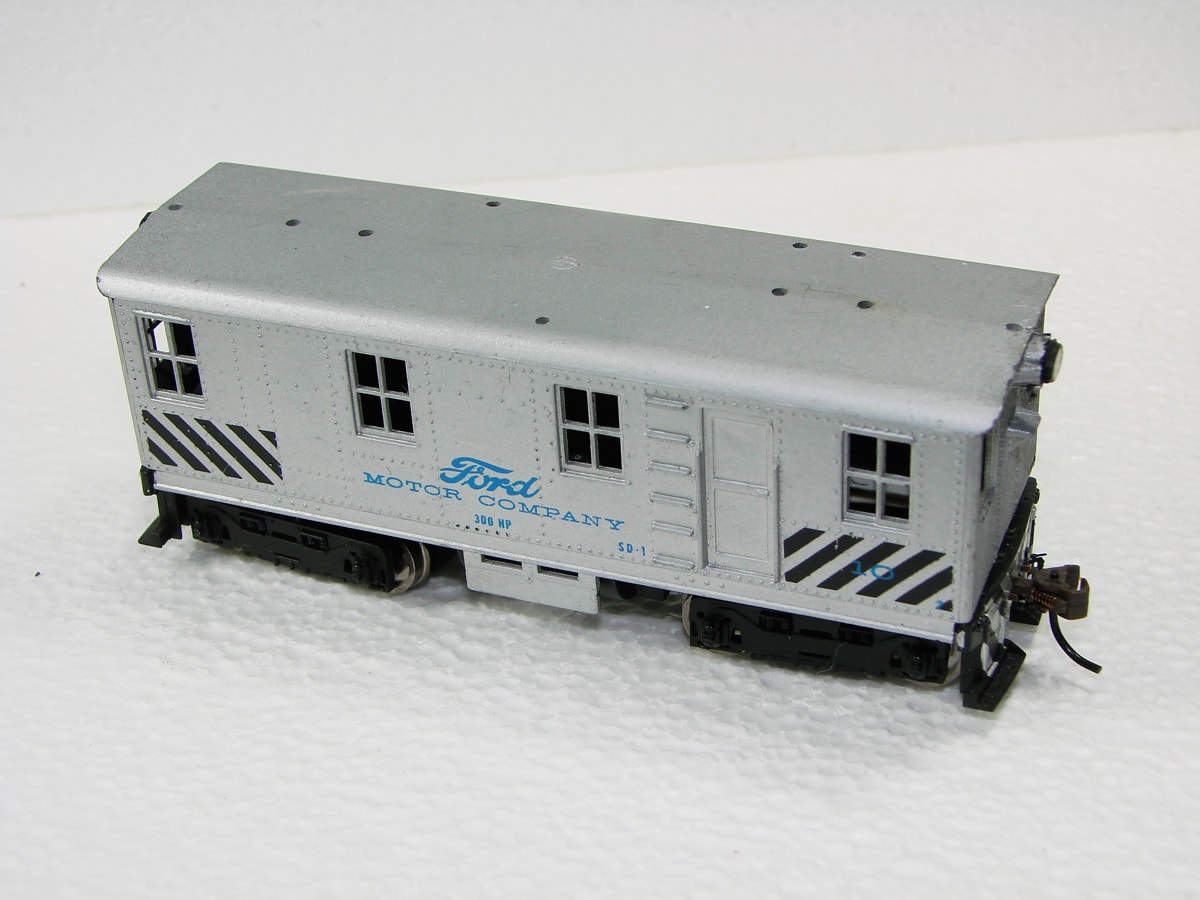 |
| This view shows the body on the chassis ready for the details to be added. You can see how the end sills fit in the cutout. |
 |
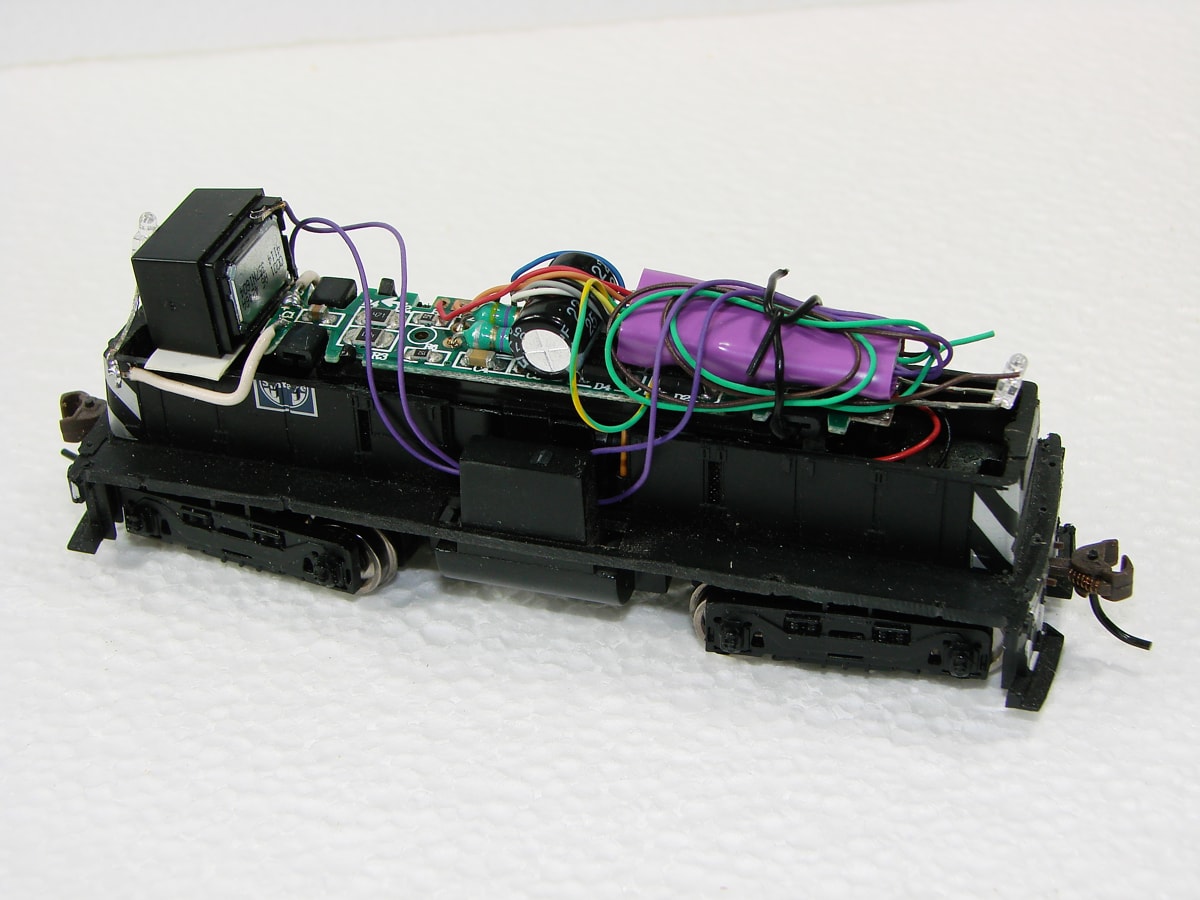
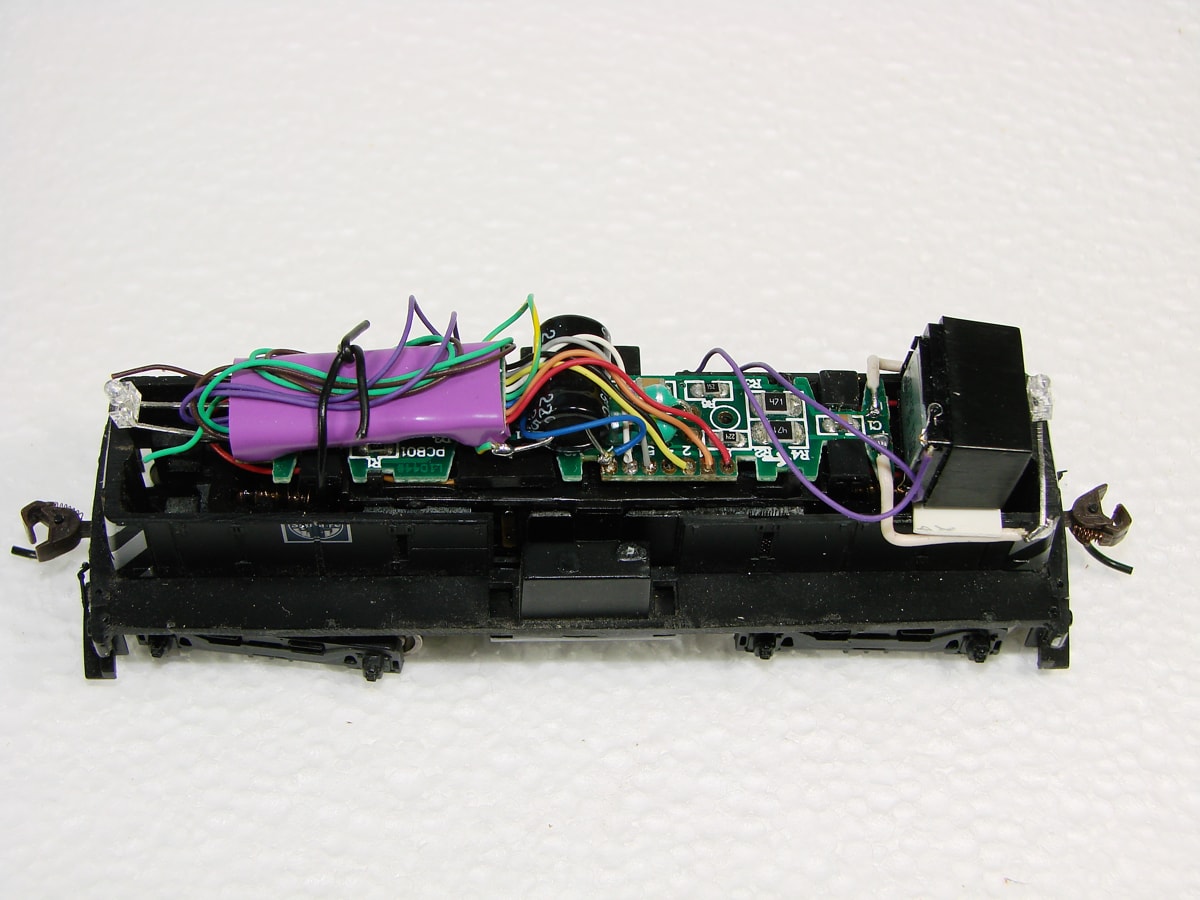
Here is the chassis from the Bachmann 44 ton with the original silent decoder. Note the arrow in the lower fuel tank indicating the "Forward" end of the chassis. I added an arrow on the bottom of the fuel tank to identify the front when the unit is closed up. Note the colors of the decoder wiring or reference the schematic, then remove the decoder by unsoldering the wires. Another thing that is recommended is to remove the 2 capacitors (C3, C4) just below the green inductors in the picture. For a schematic of this board, click Here. The front headlight LED will need to removed and will be reattached later.
|
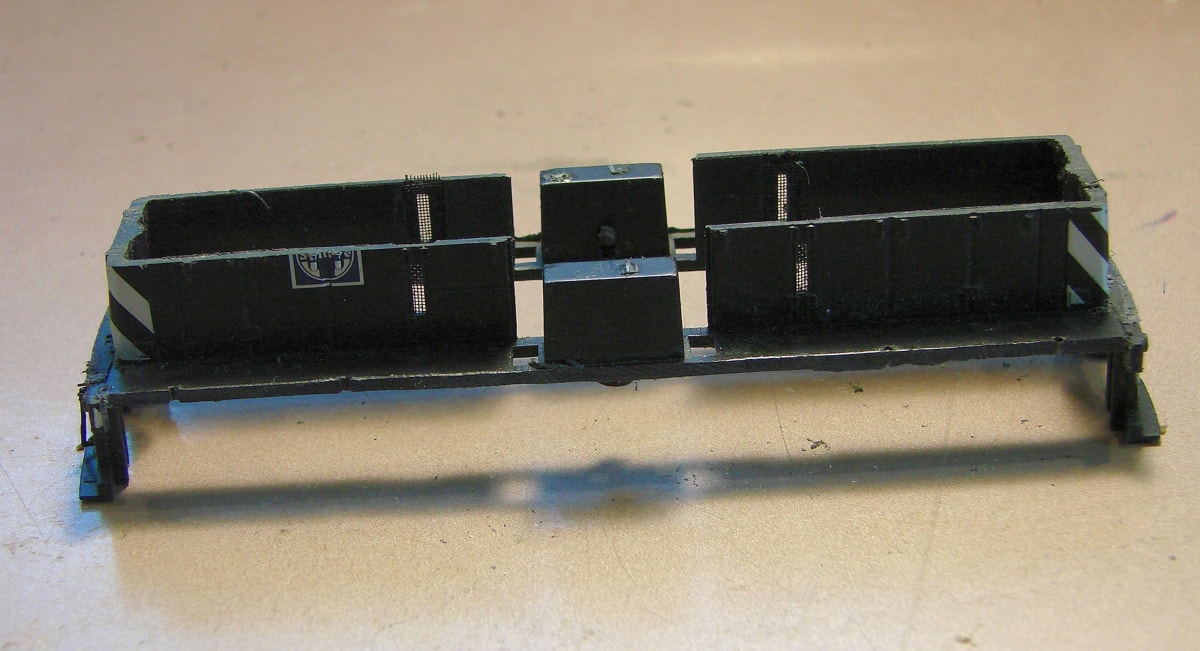 |
Here is the body from the 44 ton switcher after the chassis is removed. Remove the hand rails and the cab; it is a snap fit to the body. Next, the top portion of the body needs to be cut away just above the center pedestals as shown here. The depth from the deck to the cut is about 11 mm ( 0.433") or just above the vent slots. This is just below the window line in the body. The end sills will remain but the sides need to be trimmed to allow the box cab body to fit down over them. You will also have to trim the ends of the box cab body to clear the end sills. |
 |
Here the body has been notched to clear the end sills. Note the top of the notch is even with the top of the side beam. The lights on both ends have been drilled out to accept the lights from the Bachmann diesel. |
 |
 |
 |
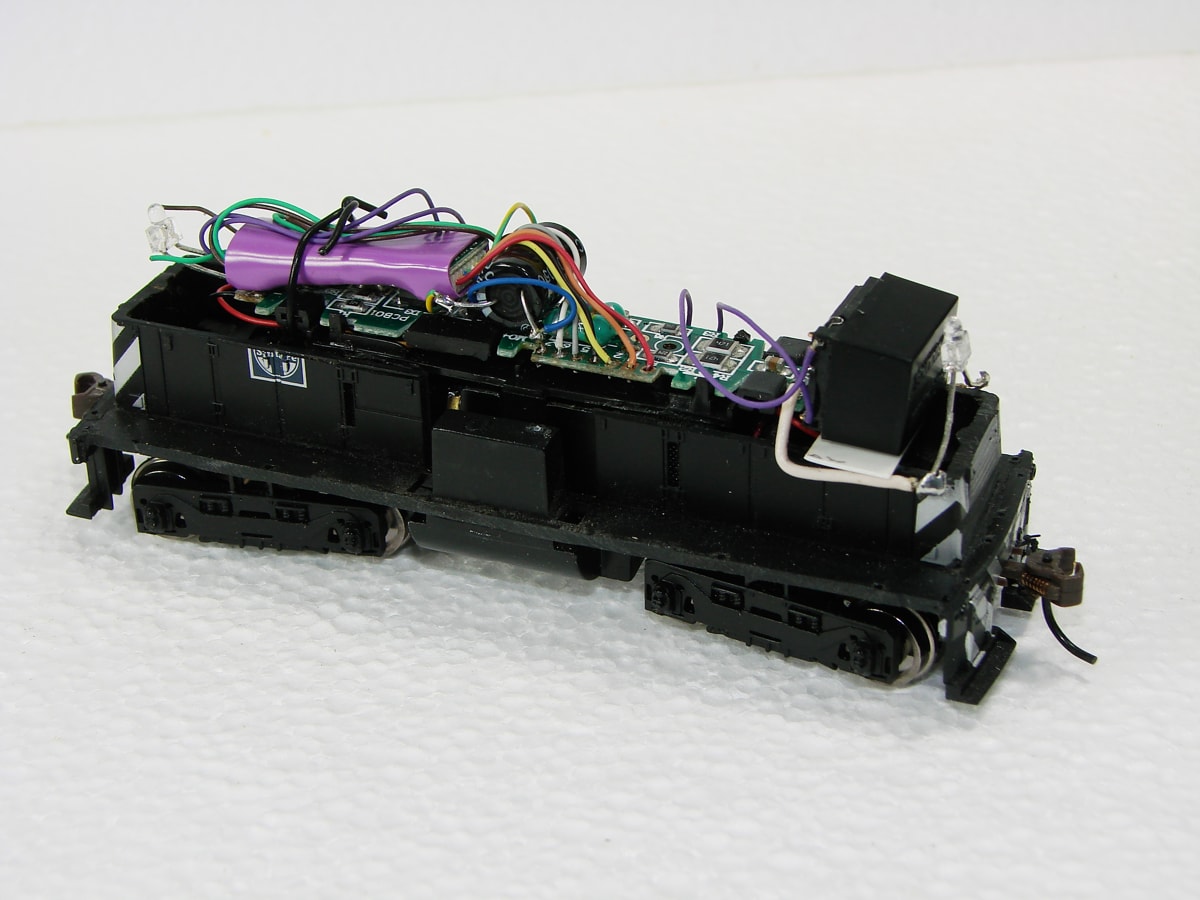
These views show the speaker enclosure sitting on a shelf from a piece of styrene and the Soundtraxx TS2 1100-885003 ALCO decoder connected to the motherboard. The included capacitor is connected also. Note how the forward light is reinstalled with added solid wire to wrap around the speaker. |